Blog
A trip to the Microtomography Beamline ID19 of the European Synchrotron Radiation Facility
When I tell people that I went to a synchrotron to perform X-ray phase contrast micro-computed tomography, among the questions I get are “What’s a synchrotron?” and “Why can’t you use a normal micro-CT machine?” The short answer I give is that in a regular micro-CT machine, the X-rays are produced by electrons accelerated in a vacuum tube, similar to the old cathode ray tube televisions. In a synchrotron, the electrons are accelerated in a particle accelerator.
A rapid speed change of an electron moving freely in a vacuum causes it to emit light. For this light to be in the X-ray range, however, much higher energies are required than for visible light or radio waves. In a conventional X-ray source, the electrons are shot into a metal target, where they are slowed down rapidly. In a synchrotron, electrons are first accelerated to a speed close to the speed of light and then diverted from their path with magnetic fields.
The difference between the particle accelerator and the X-ray tube is that the former produces highly collimated and coherent X-rays, while the latter does not. An analogy would be the difference between the light created by a light bulb and laser light. Such collimated, coherent X-rays are necessary for the phase contrast X-ray micro-computed tomography measurements that allow us to image soft tissue even in the absence of contrast agents.
But how is it to actually go to a synchrotron? In this blog post, I will talk a bit about my experience of scanning kidneys at the European Synchrotron Radiation Facility’s microtomography beamline ID19, which may also serve a little bit as a travel guide. The first step is actually going there.
After submitting proposals to receive permission to scan samples at a synchrotron imaging beamline, preparing all the samples, getting the necessary paperwork to transport them, making sure to pack half the suitcase with hard drives to save all the data, one thing one expects to be easy and may not spend much time thinking about is actually getting there. From Switzerland, there’s a direct train between Geneva and Grenoble every two to three hours, so it should be straightforward enough. Grenoble is actually closer to Geneva than Geneva is to Zurich.
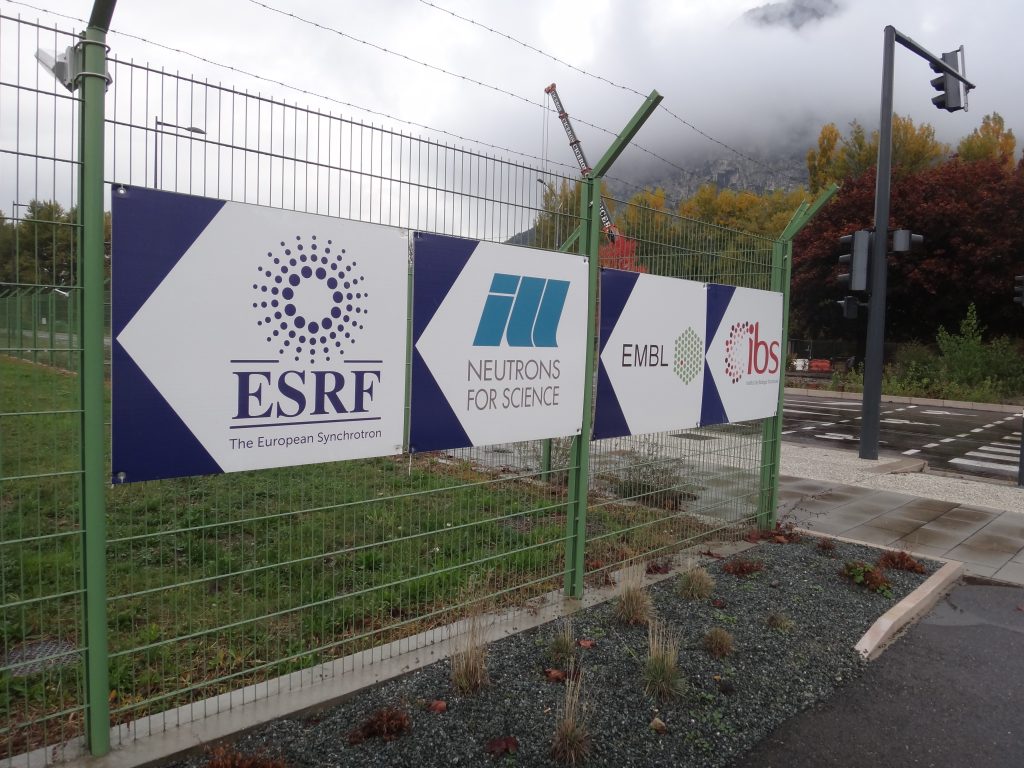
Naturally, it just happened that construction work was being done on the tracks during our beamtime in October 2016 and no trains would go from Geneva to Grenoble during that period. Instead, a replacement coach would go to Aix-les-Bains, from where the trains would depart to Grenoble as normal. However, that information was only available on the Swiss railway’s website, but not on the French railway’s website or the travel plan I received together with the tickets I bought. The departure place of the coach also wasn’t marked in any way at the Geneva train station, so I had to ask the information desk there. They let me know it was going to pick up the passengers right in front of the entrance. That seemed simple enough, but later we also had to change to a different coach in the middle of the trip and, overall, it did arrive almost half an hour late at Aix-Les-Bains. Fortunately, the train had waited that long for the passengers and it arrived without further issues at Grenoble train station, from where taking Tram B to the terminal station Presqu’île gets you to the ESRF. The entrance is about 250 m down the road in direction of the tram, you should see the big signs pointing towards it:
Once through the gate, the reception building will hand out the badge and will be able to point you towards the guest house, restaurant and synchrotron. In case you were afraid your French skills may not suffice, the receptionist also spoke perfect British English, much better than the receptionist at the Diamond Light Source located in the UK, funnily enough. The guest house will be to the left of the gate, restaurant and synchrotron to the right, which are seen on the photo below:
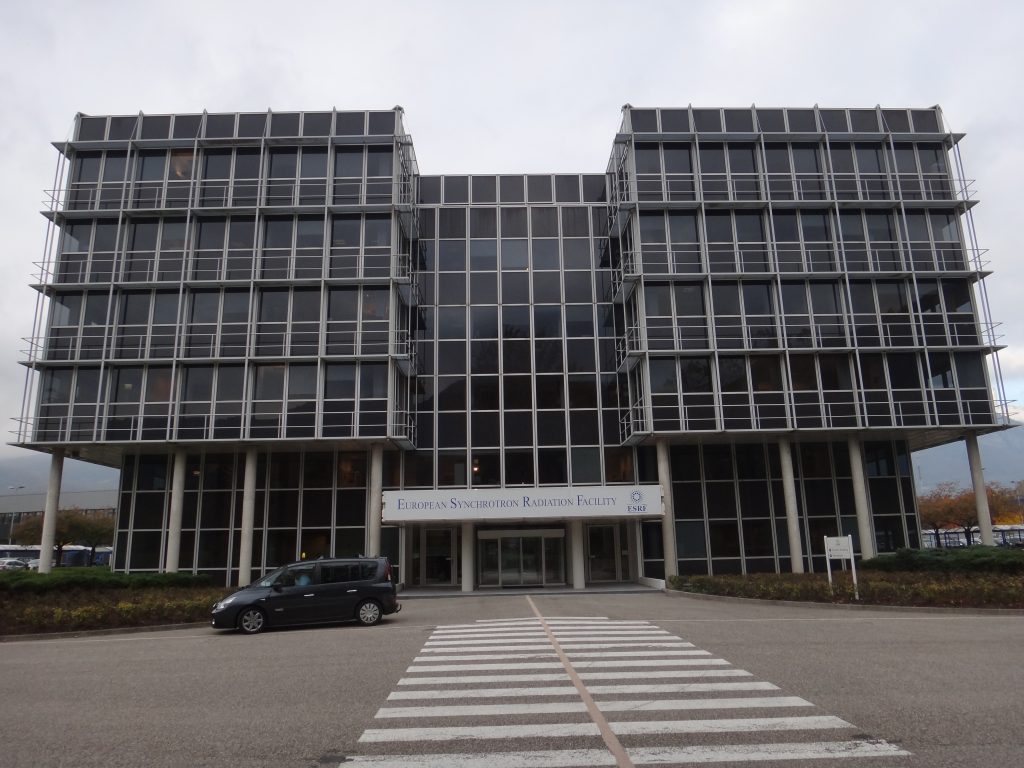
The octagonal white building in the foreground on the left is the restaurant, the rectangular dark building in the background to the right the ESRF main building. Now, to reach the tomography beamline ID19, you should first go towards the main building.
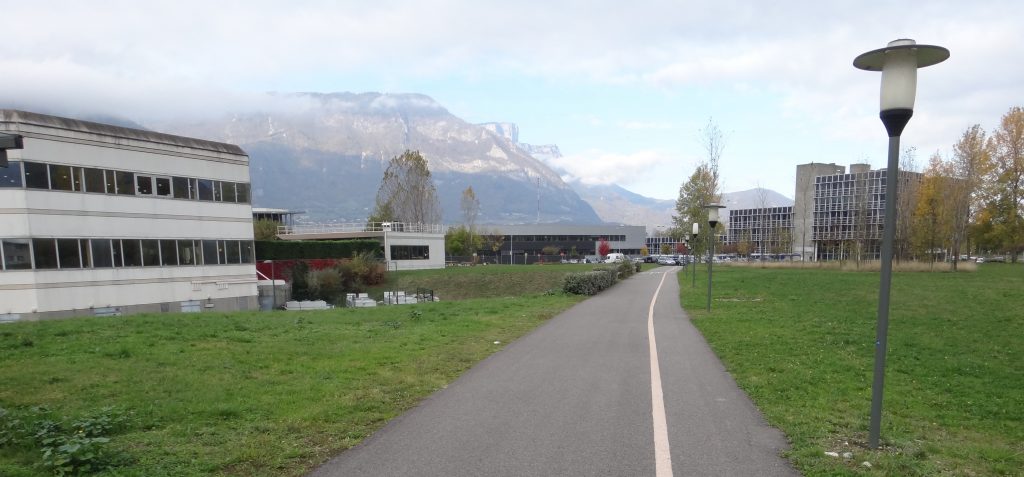
Once there, ignore the main building and keep going along the road around the building housing the storage ring. Eventually, you should see a small sign “ID19/19-5” pointing towards two buildings. The beamline control room and the hutch are in the building with the rounded roof to the left, the offices of the beamline staff to the right, which is somewhat hidden behind the mound with the trees on this photo.
Depending on what your arrangement with your assigned local contact is, you may meet them in the building to the right. In our case, they were Alexander Rack and Margie Olbinado, as we were sharing beamtime. Margie’s picture in the linked article was actually taken during our beamtime, the PCR tube visible in front of her contains one of my samples.
The experimental hutch is where the fun stuff happens, so you may be tempted to have a look immediately. Make sure to remember the points covered in the safety introduction, such as don’t open the door to the experimental hutch when the big red lights are on.
The ESRF is capable of producing X-rays with 100 billion times the brilliance of a medical X-ray machine. This does not directly translate to 100 billion times the radiation dose, since brilliance also includes measures for coherence and collimation, but staying in the room or opening the door while the beam is running is nonetheless ill-advised.
The big cabinet in the middle of the photo, which looks somewhat like a stove, is where the beam comes out from. More specifically, it enters the room through the dark square window in front. The beam doesn’t cover the entire room, but is rather only a few centimeters broad. It points towards the big blue machine, which contains the motorized stage and the detector. You may be surprised that such a big machine is needed just to hold the sample, camera and optics, but naturally, since we’re doing micrometer scale resolution imaging, even micrometers of shift during a scan would be a huge problem.
Samples are usually glued on top of a metal cylinder, which is then placed and held magnetically on top of the small cylindrical platform on the left. Pushing the half-covered big red button in the background on the wall labeled “Emergency Stop” will close the shutter to stop radiation entering the hutch and open the door lock. The shutter can’t be opened and the door can’t be locked without the search buttons within the hutch being pressed first, to ensure nobody’s stuck in the hutch when the X-ray beam is on. Scintillator converting the X-rays into visible light, microscopy lenses to magnify the resulting images and the camera to record them are on the right.
Controlling the beamline was actually quite easy, since the setup of the beam, optics and calibration was taken care of by Alexander and Margie. All we had to do was to align the samples so they fit into the scanning window and start the scans. This is done over a terminal system, which may seem daunting to people only used to controlling computers via graphical user interfaces. However, as long as you can type the words umv, umvr, wm, sx, sy, sz, srot, shopen, shclose, ct, p Y_STEP= and zseries_full, plus numbers and the filenames you wish to assign, you can give all commands you need to the sample holder stage. Just make sure to never, ever confuse umv and umvr!
Jokes aside, the umv command moves the stage to an absolute position, while umvr moves the stage by a relative value, both given in mm. It won’t destroy anything, but you’ll likely have to completely start over realigning in that particular dimension. sx, sy and sz stand for the three dimensions you can move the stage in, srot stands for the rotation. wm displays the position values the stage has currently. shopen and shclose will open or close the shutter, respectively. ct records a single projection, p Y_STEP= sets the distance the stage moves the sample out of the way to record the flat-field images and zseries_full finally starts recording the desired numbers of height steps of your sample.
Now all there’s left to do is to wait for the scans to finish. You can use one of the other computers in the control room to reconstruct in the meantime, in which case you’re going to need yet another list of commands to type. Once the first scans have finished, you may also want to start copying data to an external hard drive, because, depending on the type of scan you perform, copying the data might actually take longer than acquiring it. This can be done via a Windows machine in the office building across the parking space. If you want to eat, you can go to that restaurant in the white octagonal building I mentioned earlier. The pricing scheme at the ESRF is somewhat unusual, in that the food is really cheap, but there’s an admission fee every time you get a meal.

In this particular case, the admission fee exceeds the price for the food (excluding the drink). So in general, the amount of food you take doesn’t make that much of a difference. According to Alexander, the prices were converted directly from Francs to Euros and haven’t been changed since, which also explains the non-rounded numbers.
Next to setting up scans, reconstructing scans and copying scans, there may or may not be much time for other activities. If you don’t have much time, there are some things you can do on campus. You can observe the local wildlife at night:
You can also observe some of Grenoble’s famous landmarks from afar, such as the Bastille:
You can also go for a run or ride a bicycle on campus if you have one. It would be useful for getting around, since there are bicycle stands and parking spaces all over the campus, and it takes about 10 minutes to walk from ID-19 to the restaurant, 15 minutes to the guest house. That doesn’t seem like much, but a single height step using the pink beam took only ten minutes in our case. Depending on what type of scan you do and how many height step one sample includes, these 20 minutes of walking can make quite a difference. Just make sure to follow the speed limits on campus, denoted by this helpful sign:
Instead of doing that, you could also just take a few days off after the beamtime and actually go to places in Grenoble. I, however, had commitments back in Zurich immediately after the beamtime, so all I did was to stop at a Carrefour on my way to the train station to pick up some food and a bottle of Chartreuse as a souvenir. Fortunately, I managed to avoid the strike of the French railway personnel going on towards the end of our beamtime, since I departed the day after it ended. One teammate leaving a day earlier wasn’t as lucky, but managed to get back to Switzerland using a long-distance coach service to get to Geneva airport, which worked quite well. In the end, we all did manage to get back home safe and sound, with all the data on the hard drives safe and sound as well. Only the data from the last day didn’t copy in time and had to be downloaded over the internet, taking quite some time at 22 MB/s. But was totally worth the wait!


Comments
There are no comments