Blog
Water cooled coffee bean grinding and how things taking longer can open up new possibilities
Time is money, so the saying goes, so a lot of resources are spent in every aspect of life on making things go faster. However, this is also valid in reverse – one can often save a lot of resources if one is able and willing to wait. I could buy a computer doing the calculations twice as fast, or I could just wait twice as long. I could buy an electrophoresis chamber to accelerate tissue clearing, or I could just wait for the samples to clear passively.
Slow has become a buzzword again recently, including slow science, slow cooking or slow extraction. But for all these things I just mentioned, them taking more time is actually an undesired side effect. In slow science, it just takes longer to think things through and reflect more thoroughly. In slow cooking or slow extraction, it’s the downside to keeping the process at a lower temperature. If you could get the same results in a shorter time, you would do it.
However, in the case of the slow extraction of coffee I presented in the previous blog post, taking longer actually offers some advantages in and of itself. The grounds have time to settle, allowing separation without a filter and removing a lot more of the very fine powder than a French press would. The longer extraction time allows for greater consistency, as letting the coffee steep for a minute too long matters far less when the total extraction time is 700 minutes instead of 5. And finally, it opens up the possibility for using the water cooled coffee bean grinding method I present here.
In my previous blog post, I mentioned briefly how particle size has a large influence on coffee extraction. The whys alone wouldn’t really have required an entire blog post on their own: Smaller particles extract all components faster, including the unwanted ones, so the ideal extraction time is entirely dependent on particle size. It’s the hows that make this a bit more complicated, because the particles should be as close in size as possible, as otherwise they won’t extract at the same speed and would therefore require different extraction times. And getting a narrow particle size distribution can be difficult, especially when using a French Press, as the coarser mesh requires the use of coarser grounds. Pre-ground coffee usually comes in a size more suited for a paper filter. Coffee mills standing in shops usually aren‘t very good and may not get cleaned very often, and do you know that wonderful smell of freshly ground coffee? Well, the thing is, every aromatic molecule that’s found its way to your nose won’t be in the coffee later, so you’ll want to start brewing immediately after grinding. This means having your own coffee mill, but a good coffee mill that gives a good result for coarse grounds and doesn’t overheat the beans is rather expensive. This was actually another reason why I was looking into other methods of making coffee.
Now, if you don‘t want to spend a fortune on a coffee mill, but still want freshly ground coffee, there‘s an abundance of different guides on the Internet on how to grind beans without a mill. Most of them require a lot of muscle power and time, at which point you might as well buy a good hand crank coffee mill, which can be gotten cheaper. This isn‘t very convenient when trying to make a larger amount of coffee, though, so it then comes down to using a blender. Which is essentially like using a bad blade grinder, producing a very uneven result and producing a lot of heat.
When I started doing cold extraction, however, I realized that a new possibility opened up: Blending the beans together with water. Being suspended and stirred this way, they are moved and spread around the blender, leading to a more even grinding result. Any heat produced will be dispersed by the water. And as the beans spend the entire time submerged, losses of aromatic molecules by evaporation will be minimized. This is not something that would be possible when doing a hot extraction, as you wouldn’t have the time to properly grind the beans down, and it would be practically impossible to establish the proper extraction time as the particle sizes would be changing throughout most of the extraction time.
So, as an amendment to the previously reported recipe on cold coffee extraction, here’s the blending process described in more detail. Keep in mind that this will not give you a more even grinding result than what you’d get with a good coffee mill. But good coffee mills are expensive, whereas a blender is likely already present in the household. And if it is, then the following method will definitely be better than blending them dry and can be tried out for no additional material costs other than the price of the beans.
Amendment
1. Buy good beans.
It doesn’t matter how you grind or extract your coffee, this one still holds true. Which beans are to be considered good on the other hand…
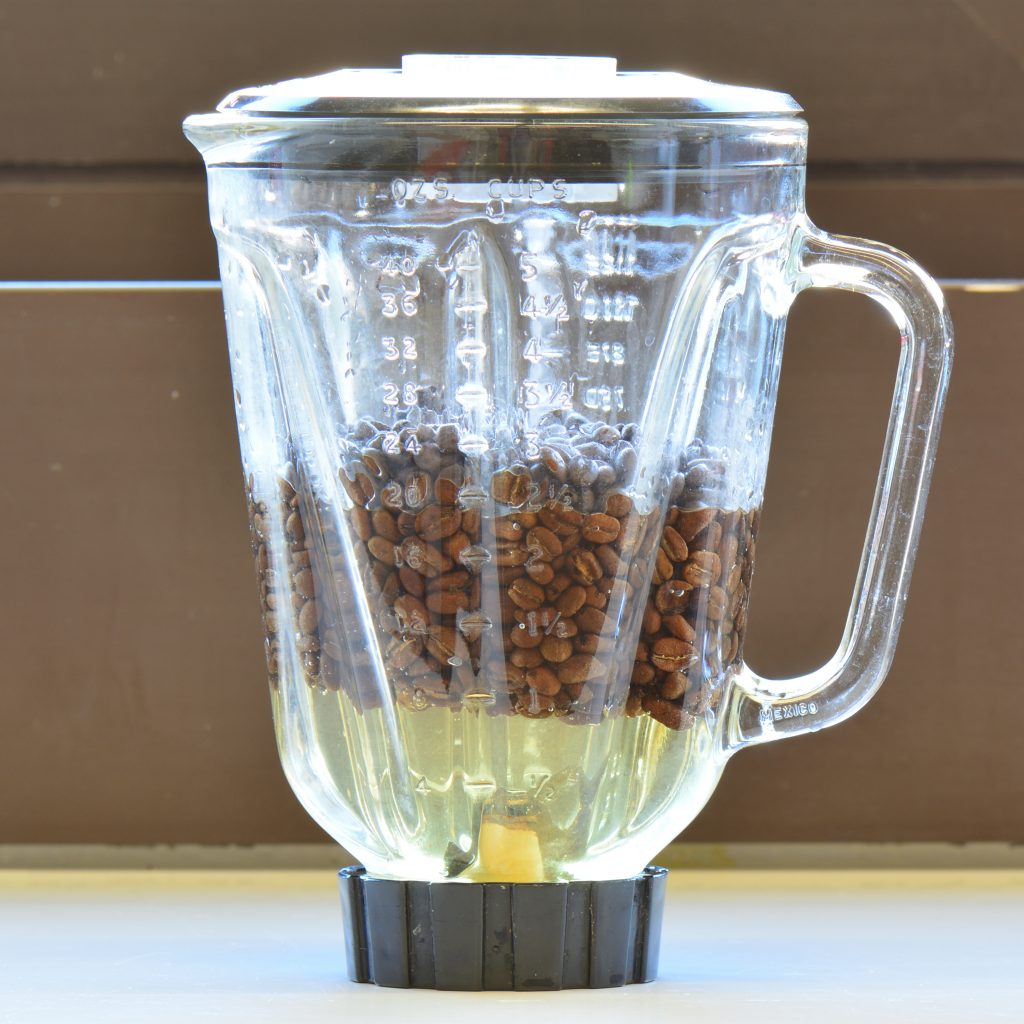
2. Per 1 liter of coffee: Take 120 g of coffee beans and put them in a blender with enough water that they can stir properly.
How much that is will depend on the size of the blender used, so you may have to scale the amount of coffee you make up or down accordingly. Keep in mind that it should obviously not exceed the total amount of water you’d use for the amount of beans you have, which would be 7.5 dl for 120 g.
3. Blend the beans with the water.
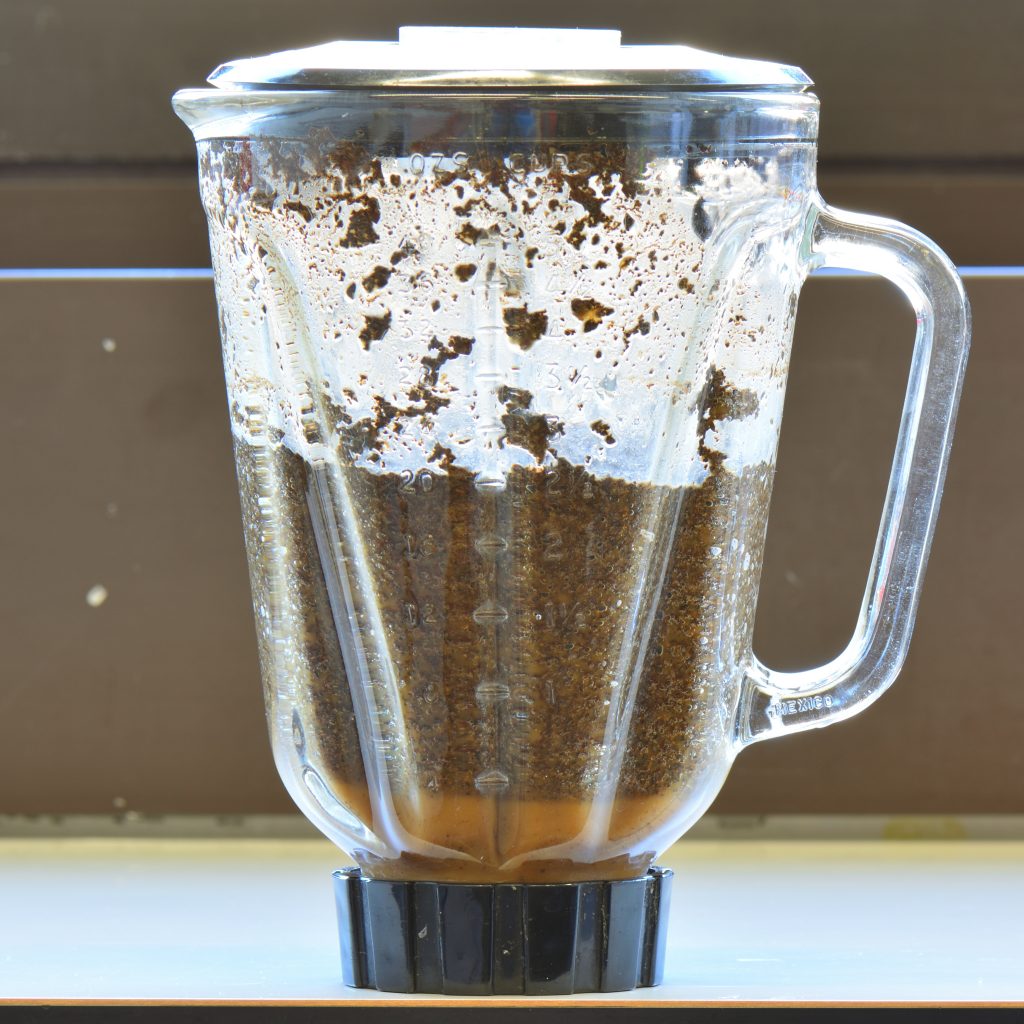
So far I’ve gotten the best results by blending until the grounds are somewhat less than 1 mm in diameter. It may take a while for the grounds to get down to that size, even at high blending speeds, and a lot of very fine powder will be produced in the process.
Unfortunately I don’t have any more precise advice than that, since there are many different types of blenders, all with completely arbitrary settings. So, ultimately, you’ll have to find your preferred best setting and time yourself. Which some might say is part of the fun when making coffee, but I know it’s usually not so much when trying to reproduce a scientific experiment.

Any grounds that are stuck to the walls won’t be ground down any further. You can flush them down with more water if that happens, but restarting the blender usually throws grounds up there again.
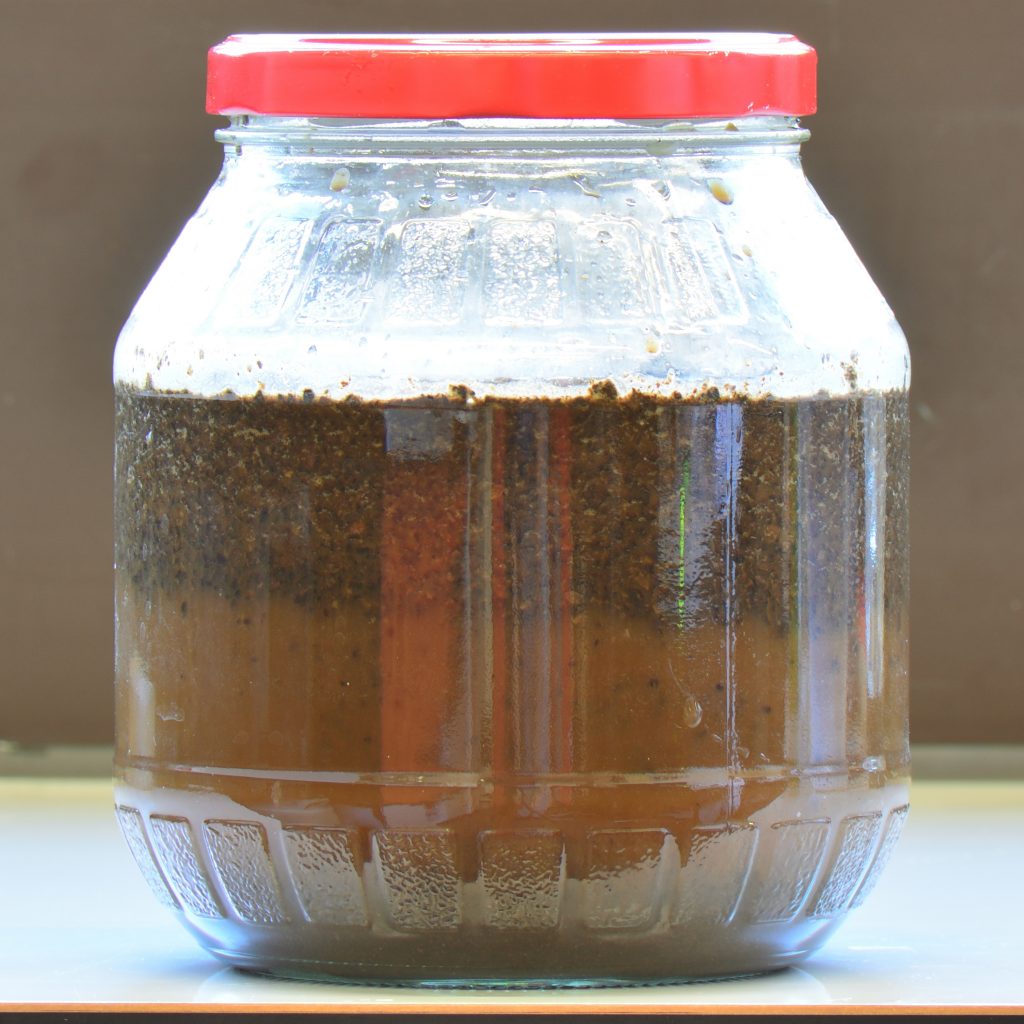
4. Keep the suspension in a sealed glass container.
Pouring out the suspension is easier when done immediately after stopping the blender, as the grounds won’t have started clumping together yet. To get all the grounds out, you can flush them out with water until you’ve reached the 7.5 dl of water.
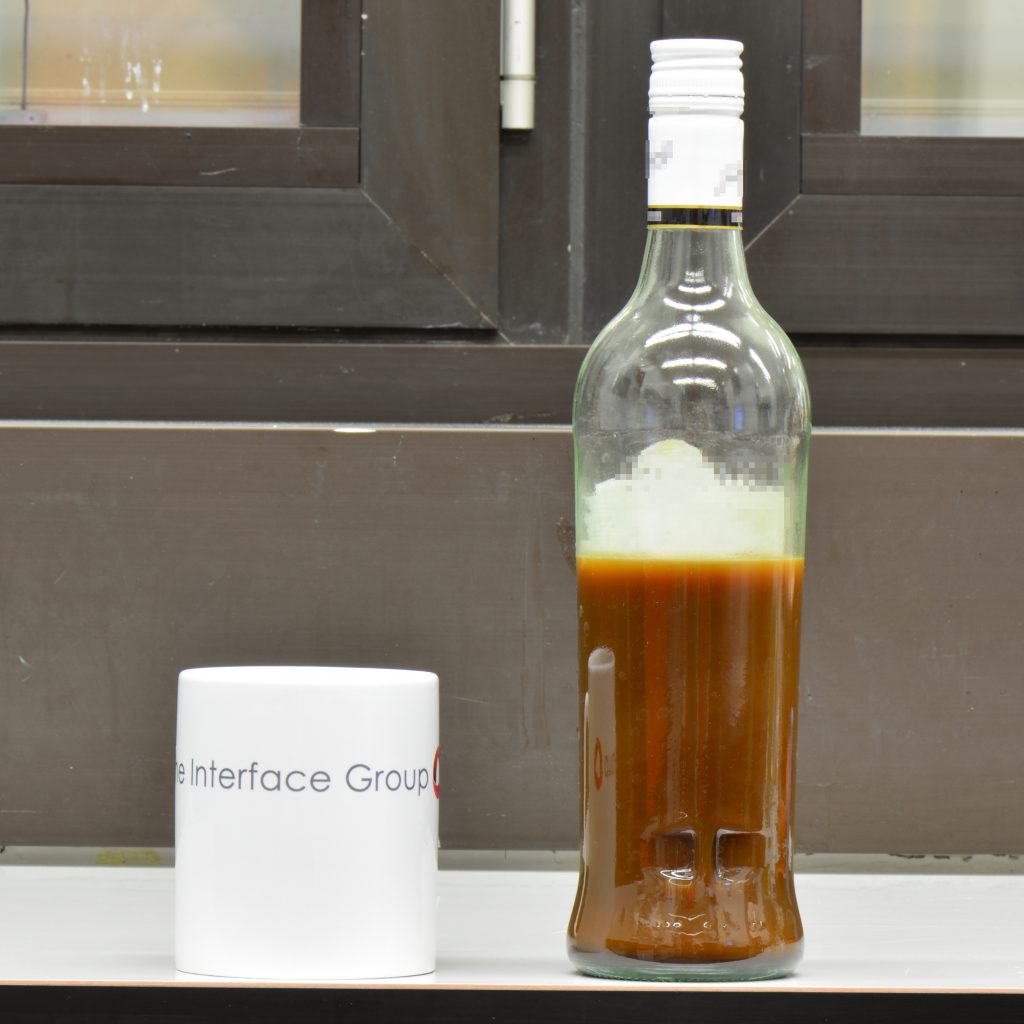
5. Stir the mixture after 15 min. and after another 45 min., leave it for 10 – 16 hours, then decant through a sieve twice to receive the final concentrate.
Remember that the ideal extraction time is entirely dependent on particle size, so those 10 – 16 hours are meant only as a rough guideline for typical particle sizes.


